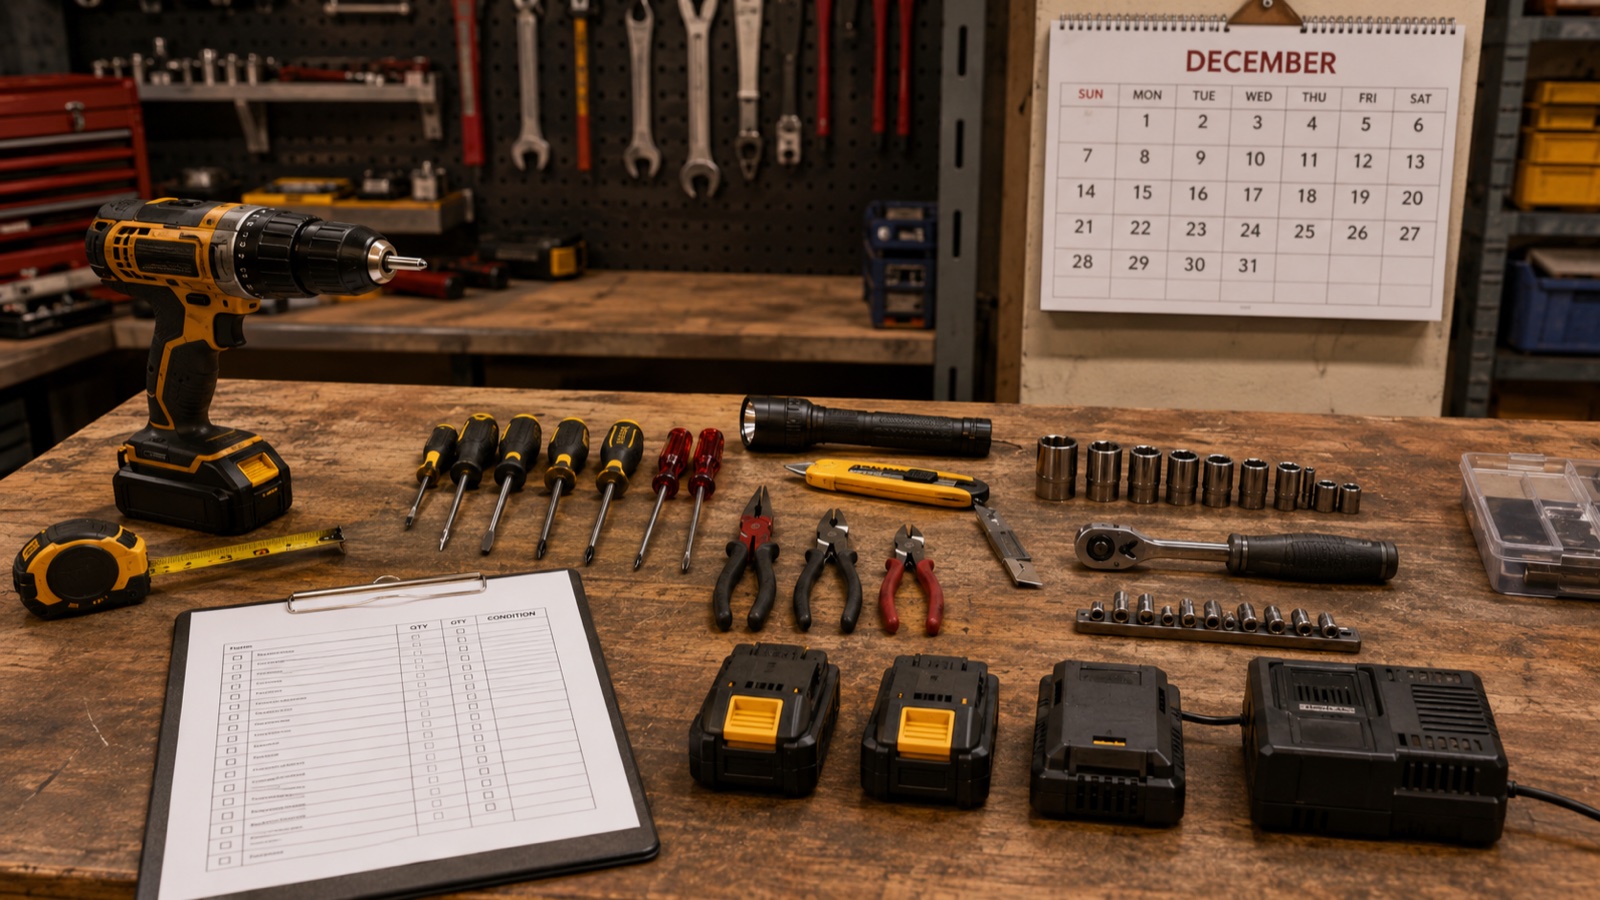
Year-End Tool Inventory Checklist for Tax Season
December is for closing out jobs, collecting final payments — and spending one afternoon on the inventory task that can save you thousands in April.
Nobody wants to do inventory in December. You're finishing up projects, dealing with weather delays, trying to close out the year strong. The last thing on your mind is cataloging tools.
But here's the thing: the contractors who spend two or three hours on their tool inventory before the year ends are the ones who walk into tax season prepared. They claim every deduction they're entitled to. They hand their accountant clean numbers instead of a shoebox of receipts. They update their insurance coverage so it actually reflects what they own.
December and January are the best time to do this. Not because it's fun, but because the timing aligns with everything else — tax filings, insurance renewals, and the natural slowdown that gives you a window to get organized.
Here's your checklist.
Step 1: Audit your current inventory
If you already have a tool inventory — whether it's a spreadsheet, an app, or a notebook — pull it up and compare it against reality.
Walk through your truck, your shop, your garage, your storage unit. Go bay by bay, shelf by shelf, toolbox drawer by toolbox drawer. Check every item against your list. If it's on the list and in your hands, it's good. If it's on the list and nowhere to be found, flag it.
This is also when you discover tools you forgot to add. That new saw you bought in August? The battery kit you picked up on sale? The specialty bit set a supplier threw in? If it's not in the inventory, it doesn't exist for insurance or tax purposes. Add it now.
The key question for every tool: Do I still have it, and is the recorded information still accurate?
If you don't have any inventory at all, this is your starting point. Pick a system — an app, a spreadsheet, whatever you'll actually maintain — and start cataloging. It's late in the year, but a partial inventory built now is infinitely better than no inventory in April.
Step 2: Remove sold, lost, and retired tools
Your inventory should reflect what you actually own right now, not what you owned at some point during the year.
Go through your list and remove anything that's no longer in your possession:
- Sold tools. If you sold a tool to another contractor, at a pawn shop, or online, take it off the inventory. Note the sale price if you can — your accountant may need it.
- Lost or stolen tools. If a tool disappeared and you've accepted it's gone, remove it. If you filed an insurance claim, note that too.
- Retired tools. That drill that barely holds a charge? The saw with the bent blade guard you've been meaning to fix for two years? If it's done, mark it as retired or remove it. Dead tools sitting on a shelf don't belong in an active inventory.
- Gifted or donated tools. If you gave tools to an apprentice, donated to a Habitat build, or passed them along to a family member, take them off the list.
Why this matters for taxes: Your accountant needs to know what you disposed of during the year. Tools that were sold, scrapped, or retired may affect your depreciation schedules. Reporting accurately protects you in an audit.
Step 3: Add every new purchase from the year
Go through your records and find every tool and piece of equipment you bought during the calendar year. Check:
- Credit card and bank statements
- Amazon and online retailer order histories
- Home Depot, Lowes, and supply house receipts
- Any cash purchases you can document
For each new tool, record the purchase date, price paid, brand, model, serial number (if applicable), and take a photo if you haven't already. This is the data your accountant needs to calculate first-year deductions and your insurer needs to set accurate coverage.
Don't skip the small stuff. A $40 bit set and a $30 tape measure don't seem worth tracking, but when you buy 50 small items a year, that's $2,000 in deductible expenses. Those add up.
ToolTracked makes this step significantly faster with AI photo recognition — snap a photo of each new tool and the app identifies the brand and model automatically, saving you from typing in every detail manually. If you're adding 30 or 40 new items at once, the time savings are substantial.
Step 4: Update replacement values
This is the step most contractors skip, and it's the one that costs them the most when they file an insurance claim.
Tool prices change. The drill you bought for $299 three years ago might cost $349 to replace today. The generator you got on sale for $800 might be $1,100 at current prices. Lumber prices, supply chain shifts, and inflation all push replacement costs up over time.
Go through your inventory and update the replacement value of each item to reflect what it would actually cost you to buy a new one today. Not what you paid. Not what it's "worth" in some abstract sense. What it would cost to walk into a store or go online and buy the same tool (or its current equivalent) right now.
This is the number your insurance company uses. If your policy covers replacement cost and your listed value is $299 but the tool actually costs $349 to replace, you're leaving $50 on the table per tool. Across an entire inventory, outdated values can mean thousands of dollars in underpayment on a claim.
Spend the time. Check current prices. Update the numbers.
Step 5: Export your report for your accountant
Your accountant doesn't want to scroll through your app or squint at your spreadsheet. They want a clean document they can reference while preparing your taxes.
Export your inventory as a PDF or CSV and send it over with your other year-end documents. A good export should include:
- Complete tool list with brands and models
- Purchase dates and prices
- Current replacement values
- Any tools sold, retired, or lost during the year
- Photos (if your system includes them)
If you're using ToolTracked, this is a one-tap PDF export. If you're using a spreadsheet, format it cleanly and save as a PDF. Either way, get it to your accountant before they start working on your return — not after they've already filed an extension because they're waiting on your numbers.
Step 6: Review Section 179 implications
Section 179 of the tax code lets you deduct the full purchase price of qualifying equipment in the year you buy it, rather than depreciating it over several years. For contractors, this is one of the most valuable tax benefits available.
But here's the catch: the deduction applies to equipment purchased and put into service during the tax year. If you're reading this in December and you've been thinking about a major tool or equipment purchase, the timing matters. Buying that new truck-mounted compressor on December 28th means you can deduct it on this year's taxes. Buying it on January 3rd pushes the deduction to next year.
Your inventory helps you make this decision intelligently. Look at what you need. Look at what's wearing out. If you're going to buy it anyway, buying it before December 31st might save you a significant chunk on your tax bill.
Talk to your accountant about this. Section 179 limits and phase-out thresholds change, and your specific tax situation matters. But having an accurate inventory to reference during that conversation makes it a productive discussion instead of a guessing game.
Step 7: Share your updated inventory with your insurer
Once your inventory is current — new purchases added, retired tools removed, replacement values updated — send a copy to your insurance agent.
Most inland marine and tools/equipment policies are based on a declared value. If your declared value is $30,000 but your actual inventory is now worth $45,000, you're underinsured. If your truck gets broken into or your shop floods, you'll only recover up to your coverage limit. That $15,000 gap comes out of your pocket.
The flip side is also true. If you've sold or retired a lot of equipment and your inventory has gone down, you might be overpaying on premiums. An updated inventory lets your agent adjust your coverage to match reality.
Send your agent the same PDF you sent your accountant. Ask them to review your coverage limits and confirm they're adequate. This is a five-minute email that can prevent a five-figure problem.
The annual habit
Here's the thing about tool inventory: it's not a one-time project. It's an annual habit.
The contractors who benefit most from their inventories are the ones who do this every December. They spend a few hours auditing, updating, and exporting. They walk into tax season with clean data. They renew their insurance with accurate coverage. They know exactly what they own, what it's worth, and what they need to replace.
Build it into your year-end routine. Right alongside sending final invoices, reconciling your books, and planning next year's projects. Put it on the calendar. Block off an afternoon. Turn on some music, walk through your shop, and get it done.
The first year is the hardest because you're building the inventory from scratch. Every year after that, you're just updating. Thirty new tools added, ten retired, values adjusted. Two hours, tops.
Quick reference checklist
- [ ] Walk through all locations and verify every item in your inventory
- [ ] Remove sold, lost, retired, and donated tools
- [ ] Add every new purchase from the calendar year with photos and serial numbers
- [ ] Update replacement values to current market prices
- [ ] Export PDF report and send to your accountant
- [ ] Review Section 179 opportunities with your accountant before December 31
- [ ] Send updated inventory to your insurance agent
- [ ] Confirm insurance coverage limits match your current inventory value
- [ ] Back up your inventory data (cloud sync, PDF saved to email or drive)
That's nine items. A couple hours of work. And it protects thousands of dollars in tax deductions and insurance coverage.
Do it now. December you will thank January you.
ToolTracked makes your year-end inventory audit fast — AI photo recognition, one-tap PDF export for your accountant and insurer, and cloud backup so your data is always safe. Start your inventory at tooltracked.com.